
Doors to Master Bedroom and Master Bathroom
Plain jane and just not very attractive. All the doors in our house look like this. BORING and SOOOO dated! My sweet PB took off a couple of vacation days to help me with this "little" project and let me tell you this was no vacation! First, we had to remove the doors and remove all the hardware.


I labeled each doors' hardware in individual grocery bags so that we wouldn't have a hard time getting them back on after we painted them. This is a very important step! We have learned the hard way that these hinges do not always fit the same when it comes to putting them back on different doors.


We set up our saw horses under our carport and got to work sanding them and PB made a makeshift work bench out of his truck's tailgate. We don't have a fancy miter saw but PB's miter box worked just fine with the trim we picked out at Lowe's.


We measured (several times) and then cut our trim, taped it in place, and then tacked it down with the nail gun. That thing was a life saver! If you don't have one, I highly recommend getting one for any of your home improvement projects!
Our next steps were caulking around the trim and then priming the doors. Since I wanted them black, I decided to prime them gray first so that the black paint would cover a little easier. This process was very time consuming. I set up an area in our backyard to spray the doors with my stepdad's paint sprayer and then set up a drying area under the carport. I didn't want to take any chances with any leaves or rain getting on them.


I should note that during the painting process we had several rain delays and had to bring all the doors inside because it got so windy and the rain was blowing all the way under our carport. And because of my frustration with Mother Nature I completely forgot to take pictures of them while getting painted with the black paint.
It took 1 coat of gray primer and 2 coats of black satin paint. For. Each. Door. So with the 5 doors that we painted it ended up taking way longer than I anticipated. That's why I am calling this our "little" door painting project. It really wasn't hard it was just time consuming. Poor PB and his precious vacation time! He's a trooper though and does whatever I ask him to!
After drying time and reattaching all the hardware to each door, we were finally able to hang the doors back in their places and could admire all our hard work! We were both thrilled with how much better the doors look!

Door to Master Bedroom and Master Bathroom

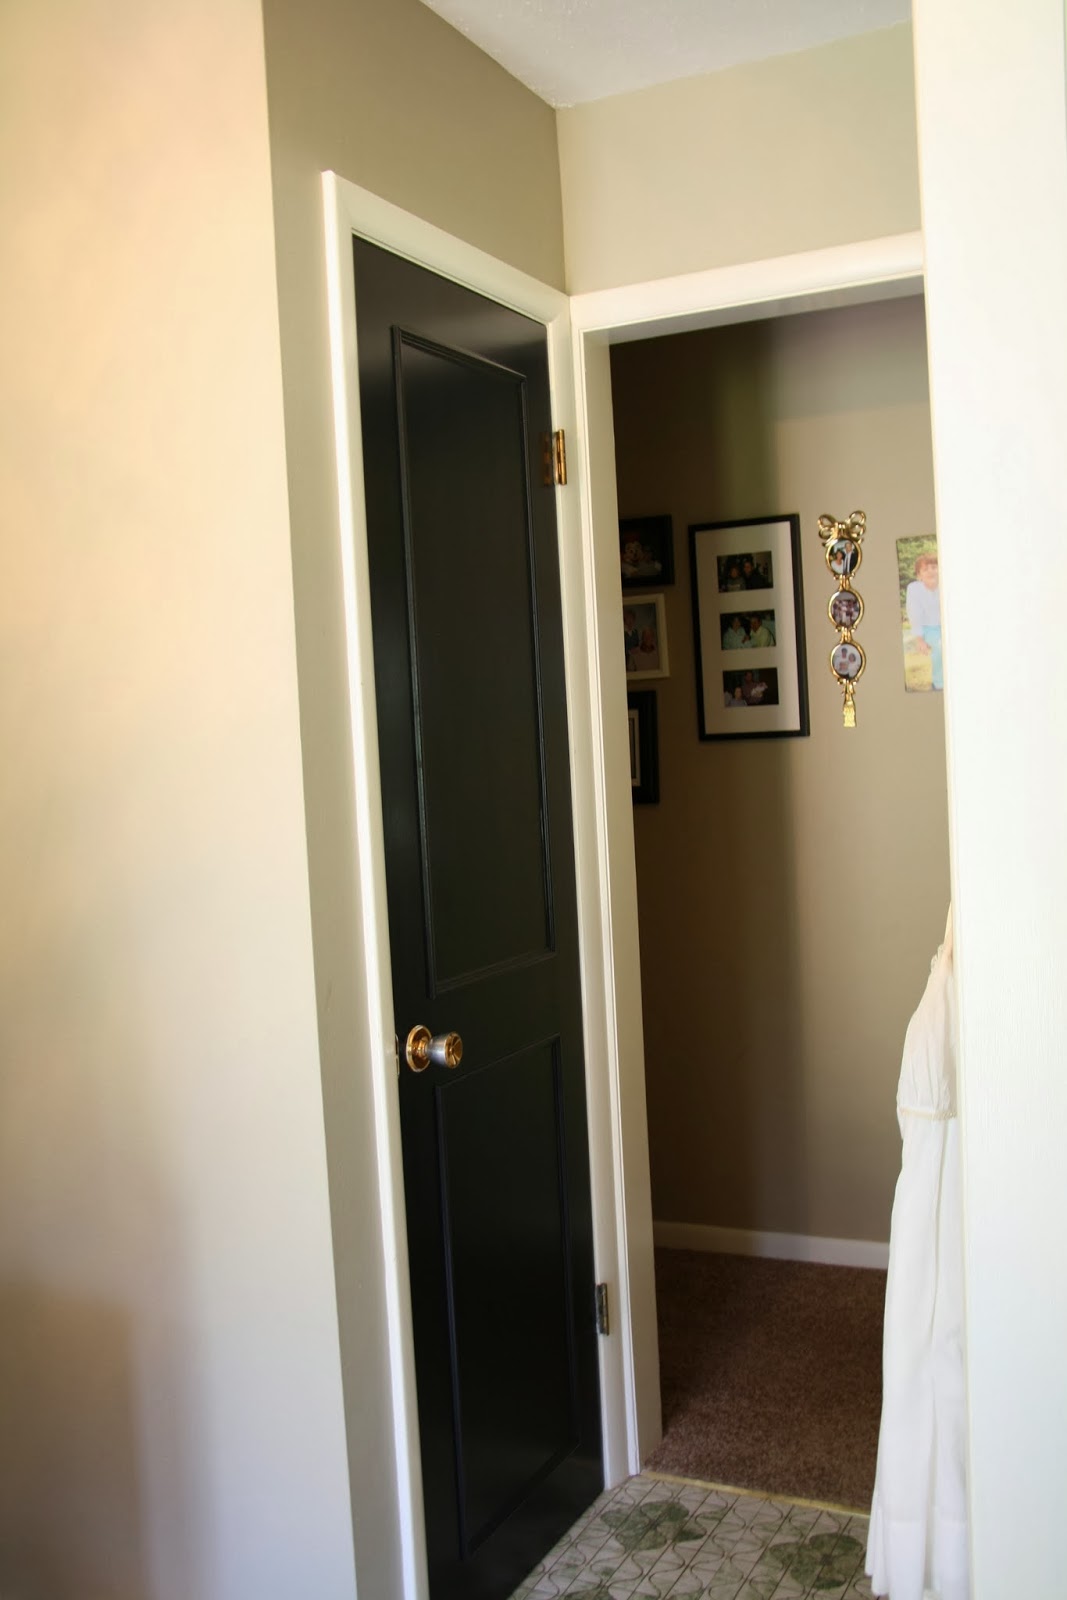
Door leading to laundry/mud room
Door to coat closet in foyer
Now, I'm ready to get knocking on the remaining 9 doors in our home and get them looking awesome like these 5 do. Looks like PB may get to use a few more vacation days! I am sure he'll be more than thrilled. ;)
Sharing today with Savvy Southern Style Wow Us Wednesdays!
No comments:
Post a Comment